How to Snorkel: A Step-by-Step Guide for Beginners
Learn how to snorkel step by step, from a good mask seal and first shallow session to reading surf, currents and boat traffic on your first open-water swim.
On this page
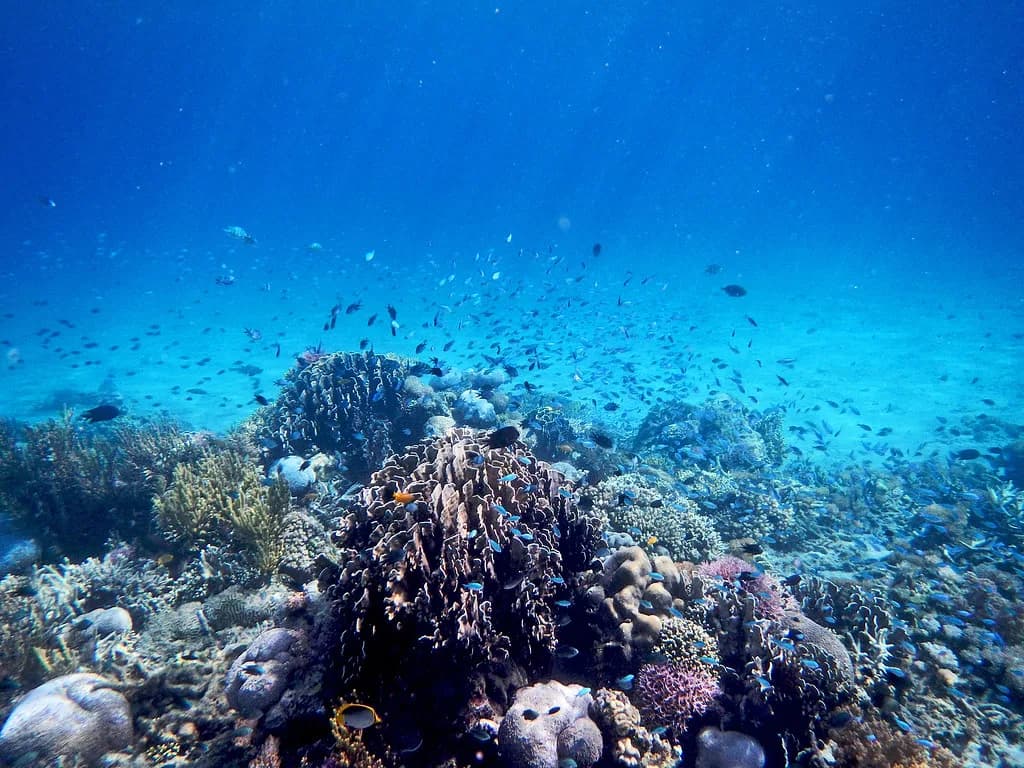
Snorkeling rewards people who slow down. You float face-down on the surface, breathe through a tube and look at the reef below, which means the skill you are really building is relaxed, unhurried movement rather than speed or depth. Anyone comfortable in water where they cannot stand can learn it, and kids take to it quickly when a first session happens in shallow, calm water.
The skills split neatly into three stages. Gear has to fit before you get wet, the first session belongs in standing depth where you learn a breathing rhythm and how to clear the tube, and open water adds the parts you cannot practice in a pool: surf, current, boat traffic and the discipline of staying found. Working through them in that order turns a nervous first attempt into a calm routine.
What Snorkeling Is, and How It Differs From Skin Diving and Scuba
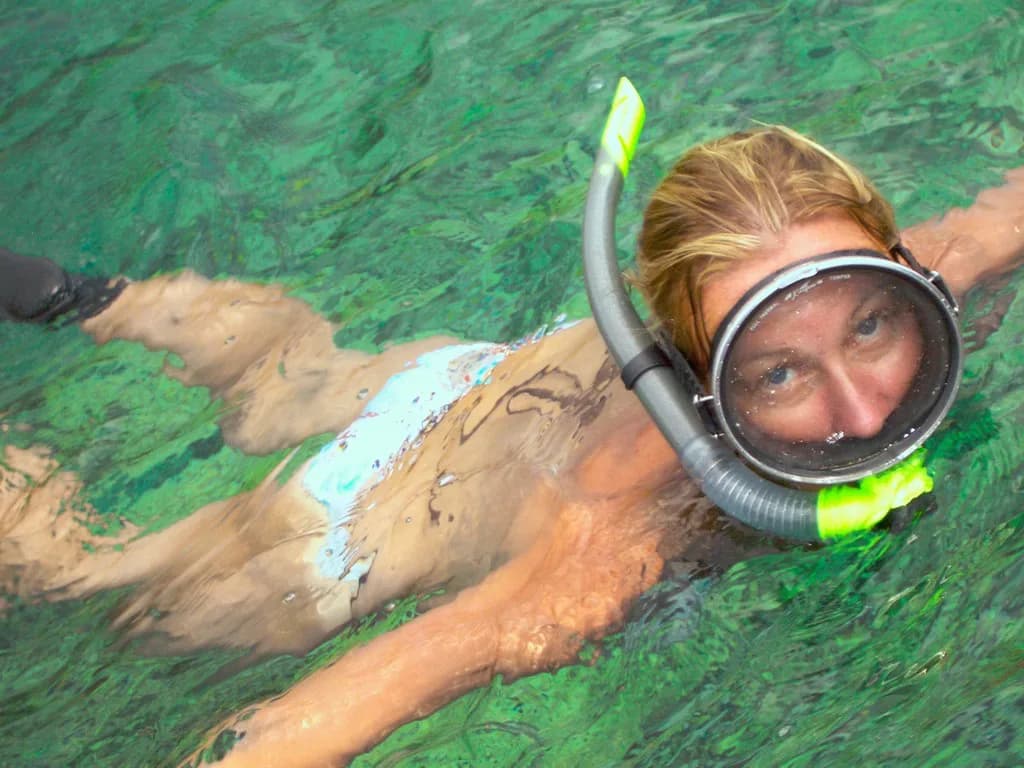
Recreational snorkeling means floating at the surface with a mask and snorkel and looking down at the underwater world, using fins mainly to drift and steer. Breathing stays at the surface, so no certification is involved and the activity suits a wide range of ages and comfort levels.
You do not need to be a competitive swimmer, but you should be comfortable floating in water too deep to stand in.
Skin diving is the next step: short breath-hold descents of a few feet to look under a ledge or follow a fish, then back to the surface. Scuba is a different activity altogether, with a cylinder, regulator, buoyancy compensator and formal training behind it. The equipment gap explains the cost and training gap, and a diver breathing from a scuba tank operates under rules and depth limits that never apply to a snorkeler on the surface.
Full-face masks sit in their own category. They cover the whole face and are built for surface use only, so they are not designed for duck diving or descending, and any water clearing follows the manufacturer's instructions rather than the blast-clear technique used with a standard tube. If you want to go under, a traditional mask and snorkel is the simpler route.
Gear That Has to Work Before You Get Wet
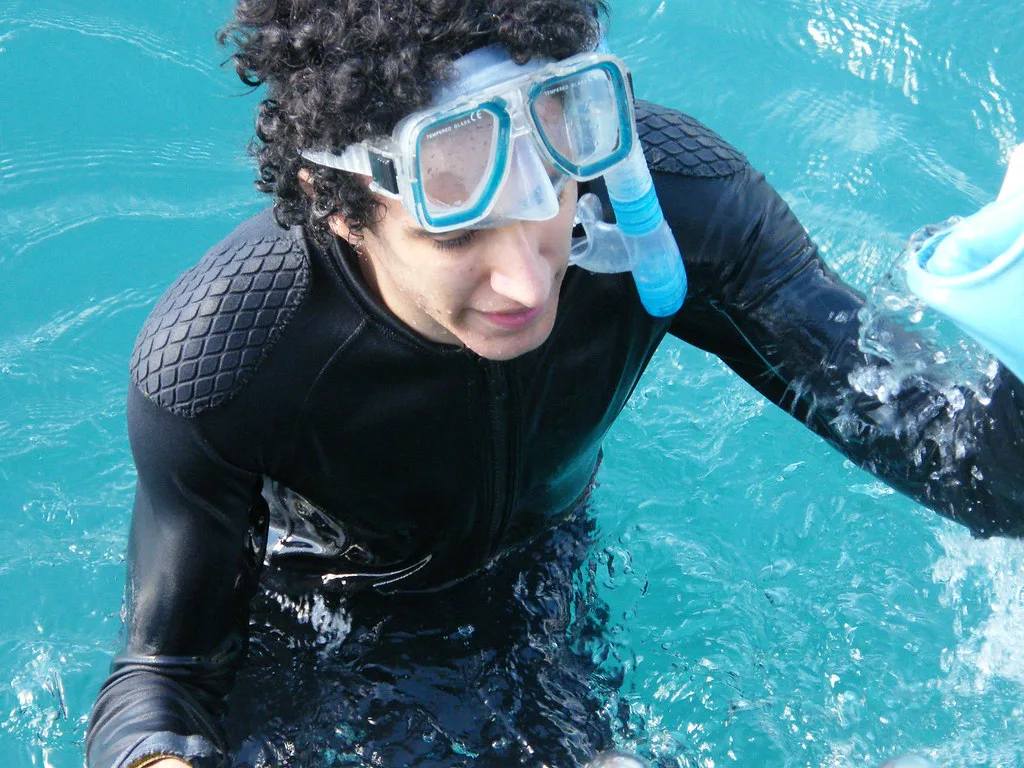
A mask is the one item worth getting right first, because it lets you see underwater without water reaching your eyes and nose. Fit varies by face shape, so trying several styles beats ordering one online and hoping. Masks with prescription lenses are an option for people who normally wear glasses, which removes the awkward choice between blurry vision and a mask that leaks over the arms of your spectacles.
For the tube, a dry snorkel with a top valve that limits water entering from above is the usual recommendation for beginners. Fins supply propulsion so your legs do the work and your arms stay free, and they add margin if you meet current. In tropical water a 3 mm shorty wetsuit is generally enough warmth, while colder destinations call for a thicker full suit, up to roughly 7 mm, so check the water temperature before you pack.
A brightly colored vest, life jacket or swim cap makes you easier to spot from shore and from a boat, which matters more than most beginners expect. A rash guard handles sun on your back and shoulders, and reef-safe sunscreen covers what fabric does not. Rental gear is widely available at beach destinations, but a personal mask that already seals is worth carrying.
Fit Tests You Can Do on the Beach
Test a mask without the strap. Hold it against your face, breathe in gently through your nose and let go; if it stays put, the seal is working. The skirt should sit flush against your skin with no air leaking in or out, and a strap tightened to compensate for a poor seal will only make the leak worse once you are in the water.
Check the snorkel position in shallow water with your face down. The tube should point up and sit clear of your hairline, and the mouthpiece should rest comfortably without pulling at your jaw. Fins should feel snug without squeezing your toes or heel.
Your First Session: Waist-Deep Water, Breathing and Clearing the Snorkel
Start where you can stand comfortably, in a pool or a calm shallow beach area. Put the mask and snorkel on and breathe slowly and rhythmically, in and out through the tube, until the sound of your own breathing stops feeling strange. Then lower your face into the water and practice clearing: a sharp exhale blasts water out of the tube, and tilting your head back so the tube points up makes it easier.
Breathing resistance is the part beginners underestimate. A snorkel adds effort to every breath, and that resistance combined with exertion can lead to sudden shortness of breath, fatigue and loss of strength in the water. If that happens, stay calm, take the snorkel out, breathe slowly and get to a spot where you can stand and walk out. Anyone with cardiovascular or respiratory concerns should talk to a doctor before snorkeling, and the same source suggests waiting two to three days after a long flight before getting in.
The Flutter Kick and Floating Relaxed Instead of Swimming Laps
Kick from the hips with a slow, steady flutter and keep your arms still or lightly at your sides. The goal is gliding, not covering distance fast; a relaxed pace keeps your breathing easy and your heart rate down. Chasing a fish or sprinting to a landmark is exactly the effort that makes a snorkel feel hard to breathe through.
Buoyancy is mostly your lungs. A deep inhale floats you higher on the surface, and a fuller exhale lets you settle slightly; small adjustments let you hover over a patch of reef without touching it or kicking up sand. A wetsuit adds flotation, and thicker neoprene adds more, but it does not replace a personal flotation device.
Reading the Water Before You Enter
Look at the sea before you commit. Calm surface with little chop, unbroken swell under about 4 feet (1.2 meters) and stable weather are the working thresholds for a comfortable snorkel, and any sign of a fast-building change is a reason to postpone. Check the tide chart and wind direction for the day, since an onshore wind and a rising tide together can turn a flat bay choppy within an hour.
On arrival, watch the water for a few minutes. Note where waves are breaking, where foam lines run and which direction surface debris drifts; that drift shows you the current long before you feel it. Snorkel where lifeguards are on duty when that option exists, and stay out of surf zones and active boat channels.
Entering From Sand, Rock or a Boat
Sandy entries are the easiest place to start: wade to thigh depth, put your mask on, then fins, and float out over the sand before dropping your face to the reef. On rocky entries, watch your footing with fins on and put the fins on last, after you are past the slippery section. From a boat, gear up completely before you step off, then enter feet-first with a hand on your mask.
Most bays have a calmer side. The shore that faces away from the prevailing swell, or the corner sheltered by a headland, usually has cleaner water and an easier exit; the windward side gets the chop and the surge. Ask which side locals swim from, then judge for yourself from the beach.
Staying Found: Buddy System, Landmarks and Surface Checks
Never snorkel alone. A buddy who watches you constantly is the single most useful safety measure, because problems on the surface can happen quietly and without an obvious struggle. Agree before you enter on how far you will go, roughly how long you will stay out and the signal you will use to call each other in.
Before you put your face down, pick a fixed landmark on shore, such as a building or a distinctive tree, and line it up with your entry point. Lift your head every 30 seconds or so to check your position, because a gentle current moves you steadily without any sensation of speed. Tell someone staying dry where you are going and when you expect to be back.
Signaling matters once you are away from shore. A bright vest or cap lets a boat spot you, and a surface marker or diver down flag is used in many places when you leave marked swimming areas, so follow the posted signs and flags at the site.
Duck Diving and Equalizing for a Closer Look
To go under, bend at the hips until your torso points down, then lift your legs so their weight carries you below the surface instead of wasting energy on kicks. Start finning once you are fully submerged, and equalize early by pinching your nose and blowing gently before you feel pressure rather than after. If your ears will not clear, come up; forcing it is how ears get hurt.
Keep descents short and shallow. Recreational skin diving is about a quick look, not depth, and full-face masks are not built for going beneath the surface at all, so switch to a standard mask and snorkel if duck diving is the goal.
What to Avoid on the Water
Skip the boat lanes, the surf break and any water with jet skis or windsurfers moving through it. Avoid snorkeling alone, and avoid pushing hard while breathing through a tube; over-exertion on a snorkel is a recognized risk factor, and the fix is simply to stop, float and catch your breath. Storms and big waves are a hard no, and if you are unsure whether a spot is safe, stay out.
Follow the signs, flags and buoys at the site, and stay out of areas where snorkeling is restricted. Midday sun is the other thing to dodge; mornings and late afternoons are cooler, less crowded and easier on your skin, and a high UV index calls for a rash guard plus reef-safe sunscreen.
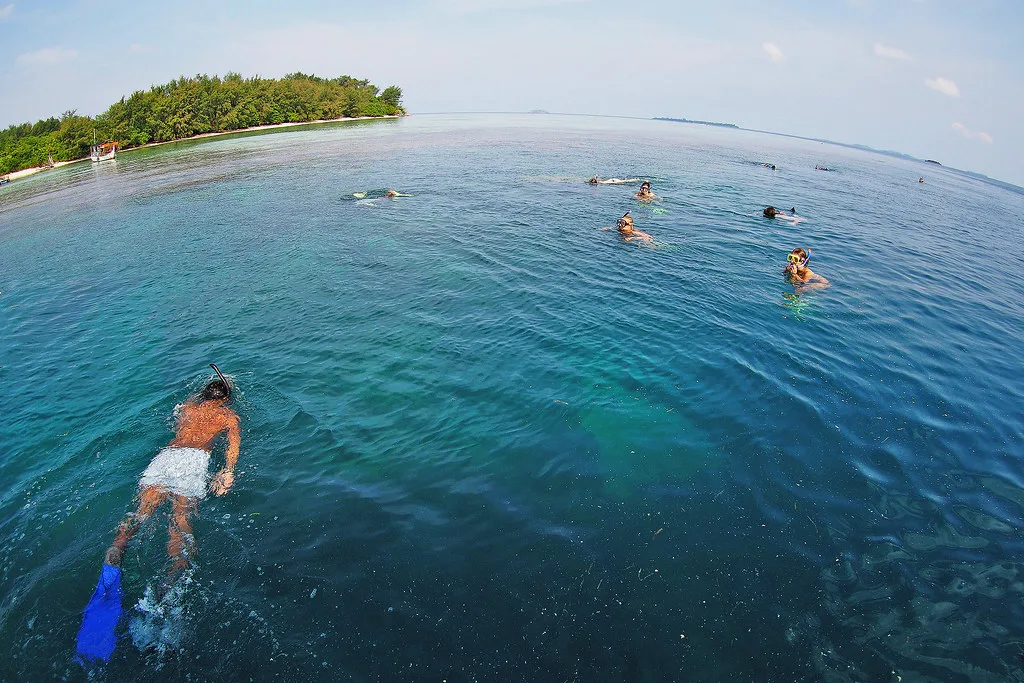
Wildlife Etiquette and Reef Rules in Practice
Look, do not touch. Keep your hands and fins off coral, give animals room to move away on their own terms and never feed or chase them; a turtle that swims off because you closed in has been disturbed, even if nothing was touched. In areas with sea turtles, seals or other protected species, follow the distance rules posted at the site and the instructions of any on-site staff.
Learning the common fish families before you go makes the swim far more rewarding, and noting behavior, not just color, is often what lets you identify a fish in the moment. A waterproof ID card in your pocket or a look at a reef guide the night before is enough preparation.
What to Bring and How to Handle Sun and Cold
Pack a mask that seals, a snorkel, fins, a rash guard or wetsuit and reef-safe sunscreen. Water and a dry towel on shore matter more than most gear lists suggest, and a light layer for the ride home keeps a long swim day comfortable. For cold water, match the suit thickness to the temperature rather than guessing.
Plan around the sun rather than fighting it. Morning and evening sessions are cooler and the light on the water is easier to read, while a midday swim means more exposure and often more people.
Building Skills Over Repeat Sessions
Improve the swimming underneath the snorkeling. Freestyle and breaststroke give you the arm strength to cover distance or push against a mild current, and practicing with fins and mask in a pool builds familiarity fast. A kickboard is a simple way to strengthen the kick you will actually use.
Tours are a fast way to learn a new area. An organized trip puts you with someone who knows where the reef starts, how the current runs and where the boat traffic goes, which is useful on your first visit to a site. Ask at a local dive or snorkel center about scheduled trips before you swim a new coast on your own.
Once the basics feel automatic, plan a trip around the water rather than the beach. The best snorkeling in the US ranges from Hawaii's protected bays to Florida's springs and reef tracts, and knowing which sites suit beginners changes how much you enjoy them. Places like Hanauma Bay on Oahu are managed with entry rules and limited capacity, and boat-access sites such as Molokini Crater reward a booking made well ahead.
Plan Your First Snorkel Day
Build the day in order: a mask that seals at home or on the beach, a shallow session to settle your breathing, then a shore entry on the calmer side of the bay with a buddy and a landmark to steer by. Keep the kick slow, lift your head to check position, and stay out of boat lanes and surf. That same boat-versus-shore decision is laid out for warmer water in this guide to snorkeling in Maui.
Before you travel, read up on the specific site's rules and conditions through the managing agency, since entry limits, no-take zones and wildlife distance rules differ by park and state. That one step tells you what to pack, where to park and how early to arrive.
Explore more Learn to Snorkel snorkeling
- Diving vs Snorkeling
- Best Snorkeling in the US
- Can You Snorkel Without Knowing How to Swim?
- Coral Reef Snorkeling Etiquette
- How Does a Snorkel Work? Breathing, Clearing and Choosing the Right Tube
- Is Snorkeling Dangerous? What the Risks Actually Are and How to Manage Them
- Night Snorkeling
- Snorkeling in the Rain
- Snorkeling vs Freediving
- Snorkeling While Pregnant
- Snorkeling With a Beard
- Snorkeling With Glasses
- Snuba vs Snorkeling
- The Best Time of Day to Snorkel
- What to Wear Snorkeling
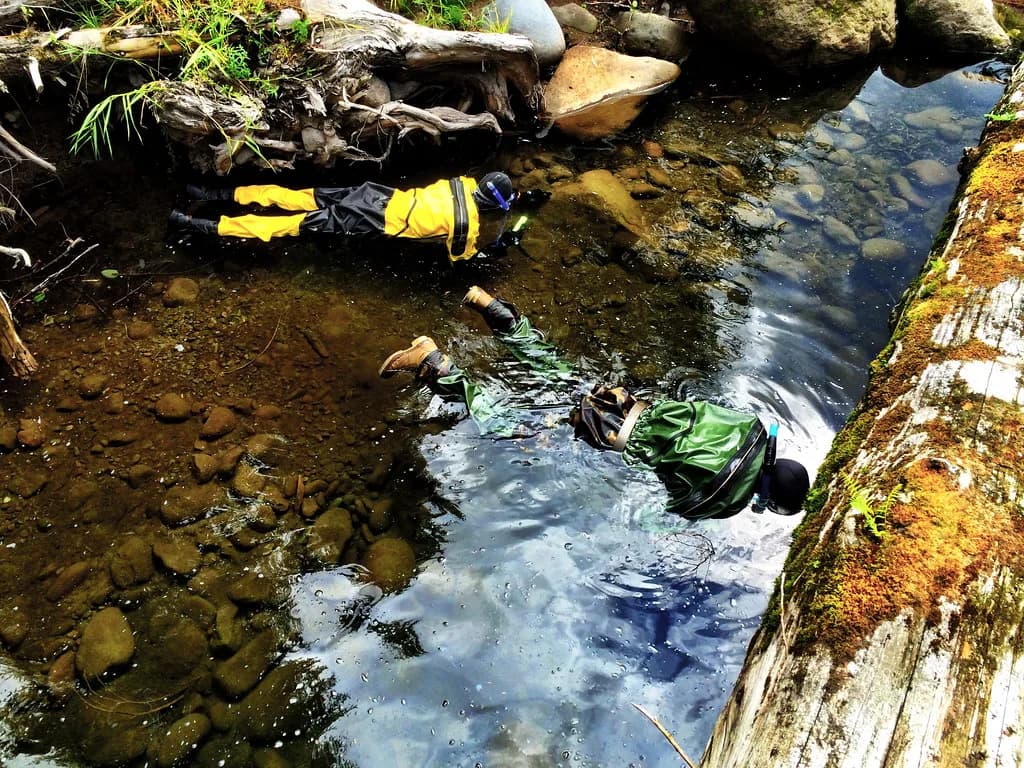
- River Snorkeling
- Best Snorkeling in the Caribbean
Frequently Asked Questions
Do you need to be a strong swimmer to snorkel?
You do not need to be a competitive swimmer, but you should be comfortable floating in water too deep to stand in. Practice in a pool first if deep water makes you uneasy, and always snorkel with a buddy.
How do you clear water from a snorkel?
Take a deep breath, tip your head back so the tube points up, then exhale sharply into the mouthpiece to blast the water out. Practice this in waist-deep water before trying it in open water. Full-face masks follow a different clearing method, so use the manufacturer's instructions.
How deep can you go while snorkeling?
Surface snorkeling stays at the top, and any descent is a short breath-hold look rather than a dive. Keep descents shallow, equalize early as you go down, and come up if your ears will not clear.
How do you go underwater with a snorkel?
Bend at the hips until your torso points down, let the weight of your legs carry you under, then fin once you are submerged. Equalize before you feel pressure, and skip this with a full-face mask, which is designed for surface use only.
What should you avoid when snorkeling?
Avoid snorkeling alone, boat lanes, surf zones and water shared with jet skis or windsurfers. Do not push hard while breathing through the tube, stay out in storms or big waves, and follow posted flags and restricted-area signs.
Can kids and non-swimmers snorkel?
Children can learn in shallow, calm water with an adult close by, and adult supervision is expected with any mask. Non-swimmers should build comfort in a pool and use flotation, and a first ocean session belongs where they can stand.
What is the difference between snorkeling and skin diving?
Snorkeling stays on the surface with continuous breathing through the tube. Skin diving adds short breath-hold descents of a few feet to look closer, without a tank or scuba certification.
Sources
Snorkeling notes for your next trip
Optional updates to our snorkeling guides.
You might also like
Continue reading
More guides you'll find useful